Inbound marketing and marketing automation go hand in hand. In fact, according to Aberdeen Group, nearly 70% of B2B companies use marketing automation platforms or are in the process of adopting one, and B2C companies have also joined the trend.
Automating your marketing minimizes the need for human intervention, which frees up your team to focus on the more creative and strategic aspects of a campaign. In addition, you can also control the entire process much better, ensuring that each lead receives the right content at the right time.
A key aspect of automation is workflows, which are actions that are triggered based on user behavior and characteristics. Often, workflows are comprised of emails that are sent to users in a specific order. Let's look at 7 examples of automated workflows that you can create in inbound marketing!

7 Types of Workflows You Can Automate in Inbound Marketing
1. Welcome Series
This workflow can be triggered when a user subscribes to a blog or newsletter. The sequence of messages would be as follows:
-
An initial message to create a connection with the lead. Immediately after signing up, the lead should receive a welcome message that tells the story of your brand and explains what to expect from your messages.
-
A series of messages to demonstrate your authority on topics the lead is interested in. You can send a selection of the best-performing articles from your website or blog. In many cases, these emails comprise a "mini-course" that you use to present users with information on a specific topic in an orderly fashion.
-
A message with in-depth content and a call to action. You can share a case study or a lead magnet with downloadable content.
2. Lead Magnet
A lead magnet is a valuable piece of content that is offered to the user in exchange for him or her leaving data (and thus becoming a lead). The content can take different formats, such as an ebook, template, or checklist. These are the steps that should be triggered automatically when the user decides to download the content:
-
Send the downloadable. In the first message, you should thank the user for trusting you and send the downloadable you had promised. In this message, you can include other related content, such as an article from your blog, to show that you know the subject.
-
Lead nurture. You continue sending content related to the downloaded lead magnet with the aim of informing the user and gradually bringing them closer to conversion.
-
Start of the sale. When the lead is ready to start receiving commercial content, you can present how the company can help him or her.
-
Sales email. Finally, the time has come to send a message with an objective of making a sale.
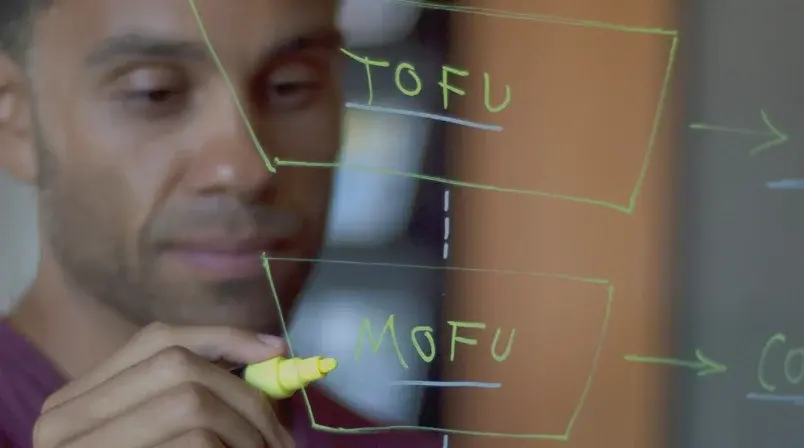
3. Nurturing Leads From MQL to SQL
Let's take a closer look at the intermediate steps required to move a lead from a Marketing Qualified Lead (MQL) to a Sales Qualified Lead (SQL):
-
Create a connection with the lead. In the first message, you can introduce yourself in a personal email and attach some valuable content. The content should be segmented according to the user's needs and be informative since you are not trying to sell anything yet. You must also mention your company's vision statement and mission.
-
Demonstrate authority. You continue to offer educational resources to show that you know what you are talking about. Emails should be written on behalf of a specific person, as you are still looking to create a personal relationship.
-
Start selling and eliminating objections. At this stage, you should send content that is more focused on a particular solution, such as success stories and FAQs. If you have a free trial or demo, you can offer it along with some additional valuable content.
-
Sell. The time has come to present your offer. You can reinforce your value proposition with benefit-related content, testimonials from other customers, and more.
4. Onboarding
This workflow is intended for new users of a platform, free trial, website, or other similar services. It consists of the following messages:
-
Welcome. Immediately after subscribing, you can send the user a welcome message where you tell them the story of your brand and explain what they can expect from your product or service.
-
"Your first steps". You can send more content related to the lead magnet downloaded by the user, always with an informative purpose.
-
"I saw that you signed up". Once the user has signed up for your service, you can send him a message explaining what you can do for him and how you can help him.
-
Tutorials. In this step, you should send several emails presenting the two or three "Wow" facts of your offer, always leaving an interval of 24 hours between the different emails.
5. Webinar
This workflow is designed for users who have registered for a branded webinar. Webinars are a lead generation strategy that has become very popular in recent years and can deliver very good results if accompanied by the right messages.
This workflow consists of the following messages:
-
Registration. Once the user has registered, you can send a confirmation email in which you include the most relevant details about the event and an invitation to add it to his or her calendar.
-
First reminder. About 48 hours before the event, you should send an email to the user reminding them of your webinar. This message can include a video explaining why they should not miss it.
-
Second reminder. One hour before the start of the webinar, send another reminder email to keep users in the loop.
-
"Live!" Once the webinar has started, send a final reminder to alert the user that you are live and forward them the link so they can connect.
-
"Thank you for attending." For users that attended the webinar, thank them for their participation and send them the supplementary materials and recording. This is also a good time to invite him/her to follow you on social media or other branded channels.
6. Winback
This workflow is designed for a buyer who hasn't bought from you in a long time.:
-
Hello? This first message seeks to reconnect with the user and remind him or her why they became one of our customers. Talk to them about the benefits of your product and show that you care about their well-being.
-
Special offer. One day after the first message, offer your user an additional benefit to incentivize him or her to buy from you again. This could be a discount, free shipping, an opportunity to try another product, etc.
-
"What's going on?" If he or she doesn't react to the second email, a week later you can send a new message to ask them why they stopped buying from you. You can ask for their opinion with a short survey and offer them an incentive for answering.
When configuring this workflow, keep in mind that the objective is to generate a purchase. As soon as the user makes a purchase, he/she must be removed from the workflow.
7. Re-engagement
The re-engagement workflow seeks to re-engage a subscriber who has not been active for some time. To do this, you can send the following messages:
-
"Hello?" This message seeks to reconnect with the user and remind them why they signed up. Show him or her the new content you've posted and try to show that you care.
-
Database cleaning. If the user still doesn't react, send them an email to tell them that they will stop receiving your messages in 30 days, unless they click on a "I want to continue receiving emails" CTA.
-
Remove. Finally, after this period, you can inform a subscriber that he or she has been unsubscribed from a list, but give them the opportunity to re-subscribe with a CTA such as "Subscribe again".

Marina Sala
AI-Driven Business Digital Strategy Consultant at Cyberclick. Expert in ecommerce, user experience (UX), inbound marketing and CRO strategies focused on maximising conversions. She helps companies integrate AI into their business and make better digital decisions to drive growth and efficiency.
Leave your comment and join the conversation