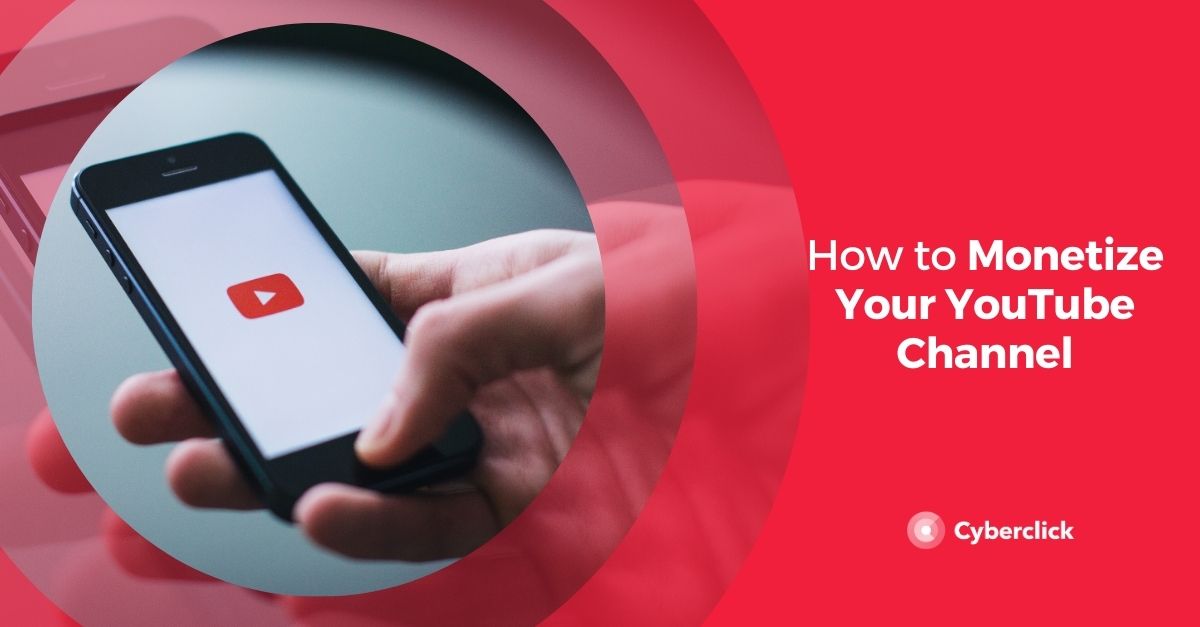
YouTube Create is a mobile video editing application with basic and user-friendly functionalities. Developed by YouTube, this app allows users to edit both long and short videos. The best part? It's completely free and ad-free.
To use YouTube Create, all you need is a Google or YouTube account, an Android mobile device compatible with the app (with at least 4GB of RAM, which most models have), and to be in a country where it's available.
YouTube Create was launched in eight markets in 2023 and, although this application still needs refinement, it may end up becoming one of the video marketing trends of 2024 and beyond.


Whether you upload videos to YouTube, other social networks, or simply enjoy editing as a hobby, we'll walk you through everything YouTube Create has to offer and how you can start using it. Because no, this application isn't just for YouTubers. However, if you're a content creator on the platform, this app will be very useful as you can directly upload the edited videos to your channel.
What Does YouTube Create Offer?
YouTube Create provides basic editing tools such as trimming and deleting clips, splitting video segments, and adjusting video speed, among others. But let's look at the standout features that differentiate YouTube Create from other video editing tools.
Audio Cleanup
With just one click, you can quickly remove background noise from your videos. This feature is especially useful when recording outdoors but can also come in handy at home. Thanks to this functionality, the primary voice will be much clearer, and there won't be any annoying sounds that hinder the viewer's enjoyment of your video content.
Automatic Subtitles
Automatic subtitles are available in some languages, so if you don't see them on your device, don't worry, they may arrive sooner rather than later. With just one click, you can add subtitles to your video that transcribe the spoken words. Additionally, you can edit them if there are any errors and choose from a variety of font styles.
Voiceover
You can add audio tracks as voiceovers and even use the subtitle tool mentioned above to transcribe them.
Wide Range of Filters and Effects
There's a vast selection of GIFs, stickers, effects, transitions, and filters that will help you add a personal touch to your videos and make them more visually appealing and entertaining. Of course, there's also a tool to adjust brightness, saturation, and color.
Extensive Library of Royalty-Free Sounds and Music
You have access to a library with thousands of songs and sound effects that are completely free and won't cause copyright issues when you upload your video to YouTube. You can choose from a variety of genres and search to find the song you're looking for.
Beatmatching
This feature helps you synchronize transitions with the rhythm of the music you've chosen to accompany your video. This way, you don't have to manually detect musical peaks and cut them; the platform identifies them for you, and you just need to adjust the image to these segments.
How to Use YouTube Create: A Step-by-Step Guide
YouTube Create is quite intuitive, but if it's your first time, here's a step-by-step guide on how to start editing your first video:
-
If you haven't already, download the YouTube Create app from Google Play.
-
Once installed on your mobile device, log in with your Google or YouTube account.
-
On the home screen, you'll see a + button; click on it.
-
Your video and image gallery will automatically open, allowing you to select items to edit. If you want to add more than one video or image to your edit, press and hold the first one, select the others, and click the import button.
-
You'll be redirected to the editing screen.
-
Before you start editing, YouTube recommends choosing the aspect ratio by clicking on the three dots in the top right corner of the screen.
-
Now it's time to work your magic!
-
If you've made it this far, we'll explain the different elements you'll find on the editing screen and what they're for:
By moving the ends of the bar containing all your videos or images, you can adjust the duration.
With the scissors emoji on the right side of the editing bar, you can cut your content if you don't want to work with it as a whole and add different elements to each section, as well as transitions.
The play icon next to the scissors allows you to preview your edit before downloading it.
The trash can icon next to play is for removing elements you don't want in the edit or for deleting the entire edit.
If you press any part of the video editing bar, you'll see a bottom bar where you'll find most of the functions. On one side, you have the scissors emoji again.
Next to it is the option for Filters, Effects, and Adjustments, where you can apply a variety of visual effects to your edit to change its appearance.
The speed emoji allows you to speed up or slow down the video playback speed.
Next is the volume option for adjusting the volume of your edit. Then there's the Audio Cleanup we mentioned earlier, which is used to remove noise from your videos and make the main voice clearer.
After that, you'll find the options to rotate, replace (to replace a part of the video with another), reorganize (to change the order of different parts of the video), delete (to delete any video segment), and duplicate (to copy the part you want, paste it, and have it appear twice in the edit).
To add transitions to your videos, click on the figures between the different cuts you've made in your edit. A library with different available transitions will open, and you can choose from a variety of them.
-
To add more clips to your edit, simply click on the + button on.


Enric Llonch
Video Content & Marketing Strategist. Expert in audiovisual production and content and analysis strategies on YouTube.

Leave your comment and join the conversation