By David Tomas, on 5 August 2020
We’ve all Googled a product or service, only to find personalized ads with that exact product on different platforms a few days later. This phenomenon is called remarketing, and it is an especially useful advertising format.
Remarketing consists of creating personalized advertising campaigns for users who have previously visited your website, your online store, or other content. Remarketing is based on creating personalized ads to user’s who are interested in your brand or products, based on their past behaviors.

If we talk about remarketing, we have to talk about Google Ads, since they practically invented this concept. Since it accounts for no less than 50% of the world's investment in digital advertising, Google Ads is one of the leading sites for launching remarketing campaigns.
In this article, we’ll review how Google Ads remarketing works, the different types of ads, and provide a step by step guide to launching your own remarketing campaign. Let’s get started!
Introduction to Google Remarketing
Google Ads (formerly known as AdWords) is one of the pioneering platforms in remarketing. In fact, they were the ones who coined the term "remarketing", when the practice was previously known as "retargeting".
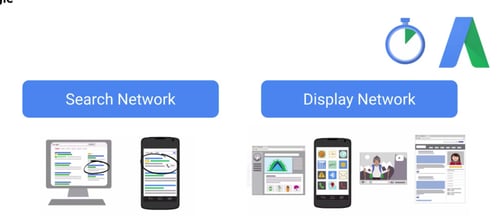
Ads on Google offer a few different ways to get back in touch with users, either through display advertising campaigns or search ads, the main two types of Google Ads.
You can also customize the inclusion criteria that make a user part of a remarketing list.
Broadly speaking, the Google Ads remarketing process can be summarized in 3 steps:
The user visits our website or interacts with our branded content (for example, a video posted on YouTube).
The user is marked with a cookie and added to a remarketing list whose parameters we have previously defined (for example, all users who have visited product X’s page in the last 30 days).
An ad campaign is carried out aimed at this list, i.e. only users who are part of this list will be able to see it.
Types of Remarketing on Google Ads
Before we get into the details of the ad creation process, let's review Google’s remarketing options:
- Standard Ads: This is the classic display ad format and the first type of remarketing Google ever experimented with. It doesn't offer great interaction possibilities, as it simply saves the user’s information and offers them a single ad.
- Dynamic ads: Dynamic ads store information about where a user has browsed and show them the same or similar products. For example, if you do a search for a hotel on booking.com and then leave the page, this information is saved and you will start to see display ads for the same or similar hotels you were browsing.
- Text ads: These are the typical text ads that appear in Google’s search network and are activated using the terms entered by the user in the search bar. For remarketing, the user can only activate these ads if they are searching for specific words and if they have also visited the website previously. In general, it is considered that text ads for remarketing may have more generic keywords and higher bids than normal ones.
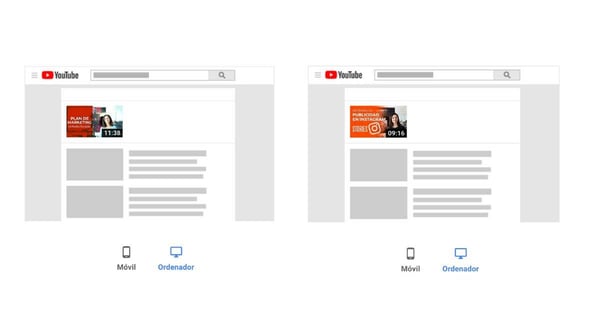
- Video retargeting ads: In this type of ads, the criteria for inclusion in the remarketing list is not a visit to a specific page, but the fact of having seen one of a brand’s videos, either on our own website or on the associated YouTube channel. By knowing the specific content that the user has consumed, we can better customize the offer.
- Ads by distribution list: Google Ads provides the possibility of remarketing using your own databases (for example, the list of users who have subscribed to your newsletter). You will have to upload the data in .csv format and indicate the fields to Google. With this information, Google will track users across the website to show them personalized ads. This tracking will work better or worse depending on the characteristics of our database; of course, Google will find it easier to locate users who have a Gmail account.
How To Launch Remarketing Campaigns on Google Ads, Step by Step
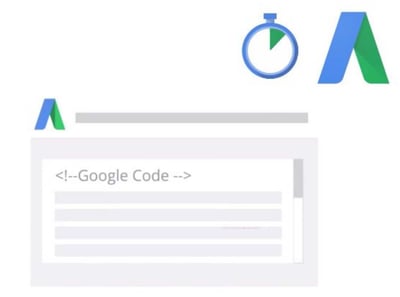
1. Sign in to Your Google Ads Account and Get Your Remarketing Tag
The remarketing tag or pixel consists simply of a code that you must copy and paste into your website. If you have the Google Tag Manager tool, you can do it in just two minutes.
Once you have this code installed, it will start to save information about users who visit your page. The data will be quite detailed, for example, the specific products they have visited, their device, the pages they visited. This way, users will see your remarketing ads from the moment they leave your website.
2. Create One or More Remarketing Lists
Google’s remarketing lists allow you to set parameters for displaying ads to users. For example, you may create separate lists for users who have viewed the home page, visited a particular product, or performed some type of conversion.
To create a remarketing list, go to the Google Ads tools section and create a list with a new audience.
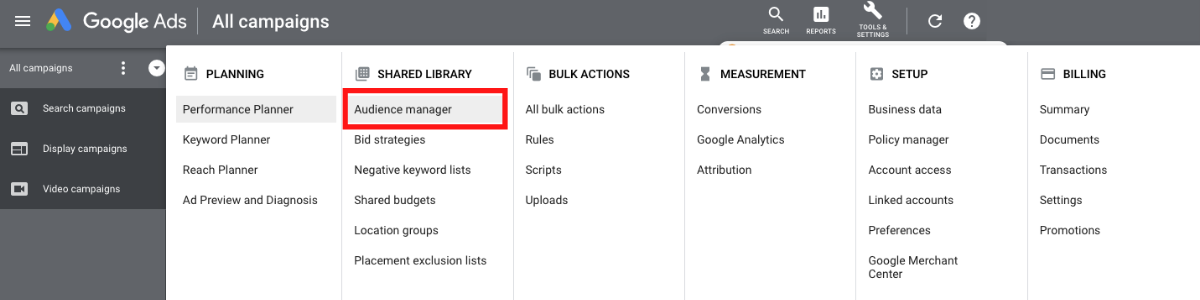
Audiences are created in the audience manager by choosing between several options: users who visit your website or one of its pages, users who have downloaded and used your mobile application, users who have interacted with your videos on Youtube or a customer list (from a .csv database, as mentioned above).
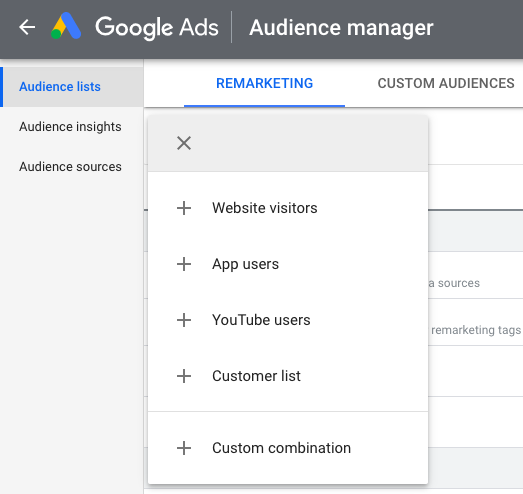
If you are using a customer list, you can upload the list using their emails.
As you can see, you have multiple options to create the perfect audience. My recommendation is that you think about which ones make the most sense for your objectives and that you try out several different options and compare the results: you might be surprised to find which one works the best!
An important practical nuance: when naming your audience, create a uniform nomenclature, not only for Google Ads but for all your remarketing campaigns on any platform. This will make it much easier for you to create, manage and know what each one of them means at any time.
3. Create Your Campaign by Selecting the Remarketing List You Will Use
Once you've done all the previous work of creating audiences, it's time to get going!
Create the campaign, then in "Audience" choose the personalized list you have created, for example one of "Customer Lists".
Usually you will have to wait a few weeks between setting up the audiences and launching your first campaigns. The reason is that the remarketing lists you have created have to be "filled in" as users interact with your website, your app or your YouTube channel.
Once you have enough critical mass, you can start launching your campaigns. Normally, you will design a different campaign for each remarketing list you have created, depending on the business objectives we want to achieve.
Another important decision you will have to make is whether to create a Google Ads remarketing campaign for search or display. Both options have their advantages and disadvantages and can be complementary, so my recommendation is always to try both and see what work best.
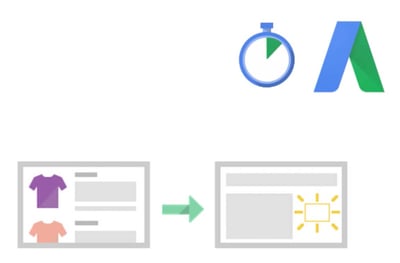
4. Create Variants of Your Ads
Now you only need to create your "Ad Group" within your "Campaign". Here you can also select the audience you want to impact.
A small but crucial detail: when setting up your remarketing campaigns on Google Ads, don't forget to launch several variants of your ads simultaneously. For example, you can change the copy, the title or the visible URL (or the image in the case of display campaigns).
Creating variants allows you to run A/B tests and compare the performance of the different elements. This way, you can see which versions work best and optimize your budget.
5. Start the Campaign!
You're all set to go! Once you launch your remarketing campaign on Google Ads, users who are part of your lists will start seeing your ads on the Google search engine and other sites on the web.
6. Constantly Analyze the Results
Google Ads has a powerful analytics system that allows us to know what is happening with our campaigns almost in real time. Thus, you can have controlled metrics such as impressions, frequency or click rate.
Use all this information to continually track campaigns and see what types of remarketing and ads work best. Over time, you'll be able to figure out what works and what doesn't and make the most of your budget to get the most out of remarketing on Google Ads.